

Brow Lamination Solutions
Snap Beauty's Brow Lamination solutions aims to deliver high quality results whilst also allowing you to have good profit margins within your treatment.
COMING SOON
Our brow and lash lift products will be available from Saturday the 19th of October this year!
Explore the game-changing features of Snap Beauty's brow lamination kit. Achieve flawless brows in no time with our advanced formulas.
Snap Beauty's Brow lamination range is vegan formulated, cruelty free and made in the U.K. Created by beauty therapists, for beauty therapists, our ethos is to help you elevate your treatments whilst saving time and money.
Join our mission for the beauty industry to make treatments more time-efficient, profitable and sustainable.
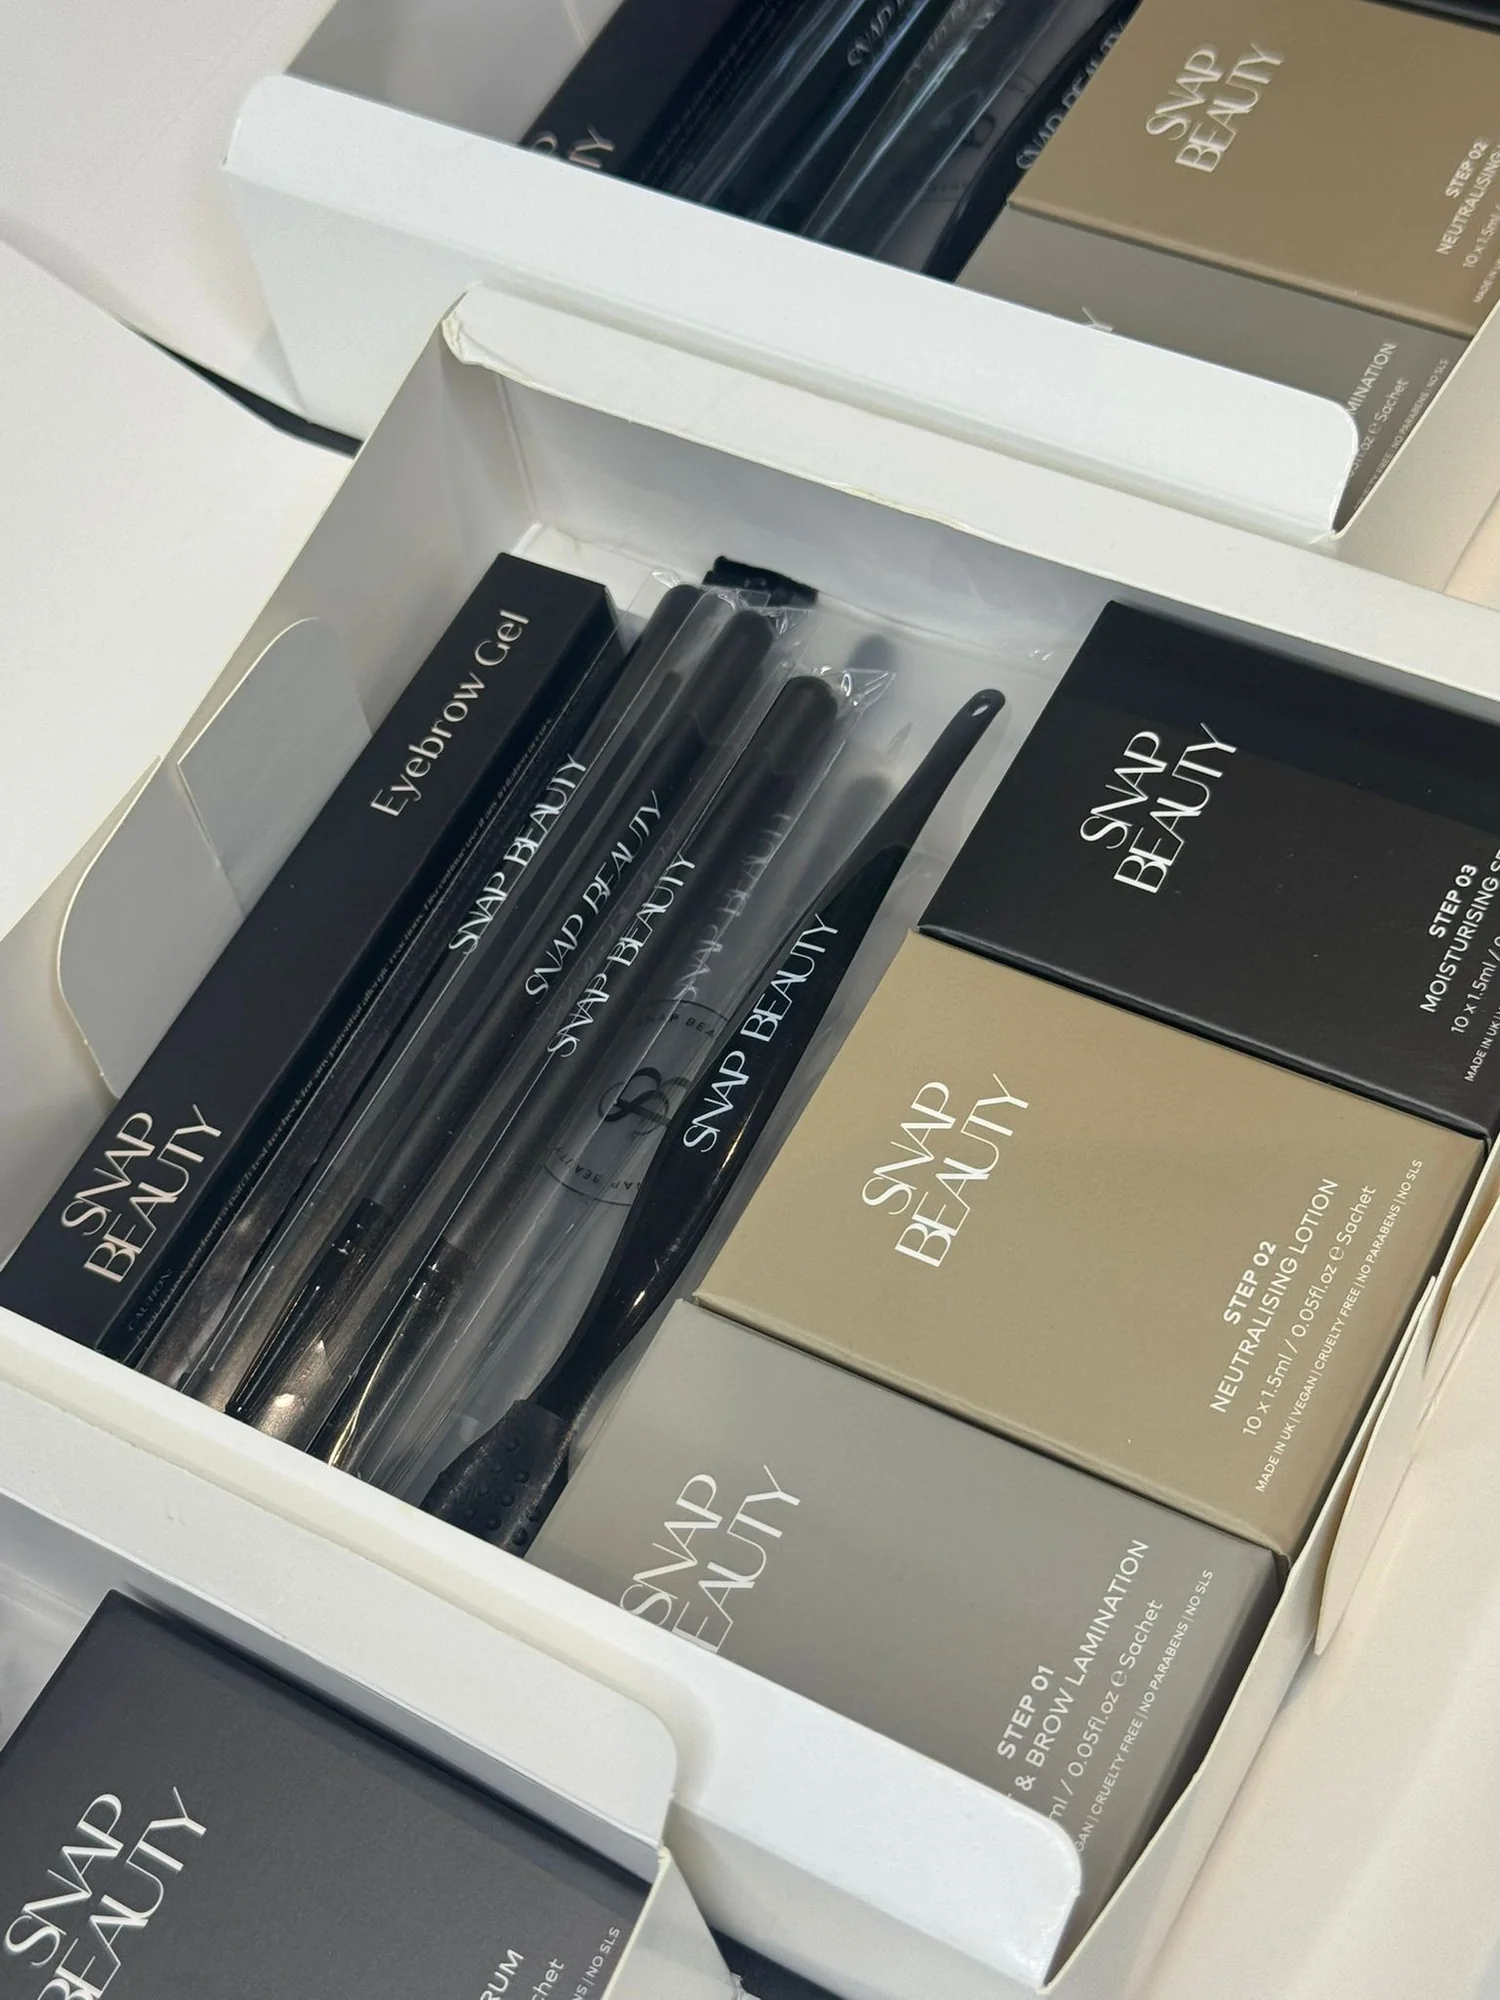
SAY HELLO
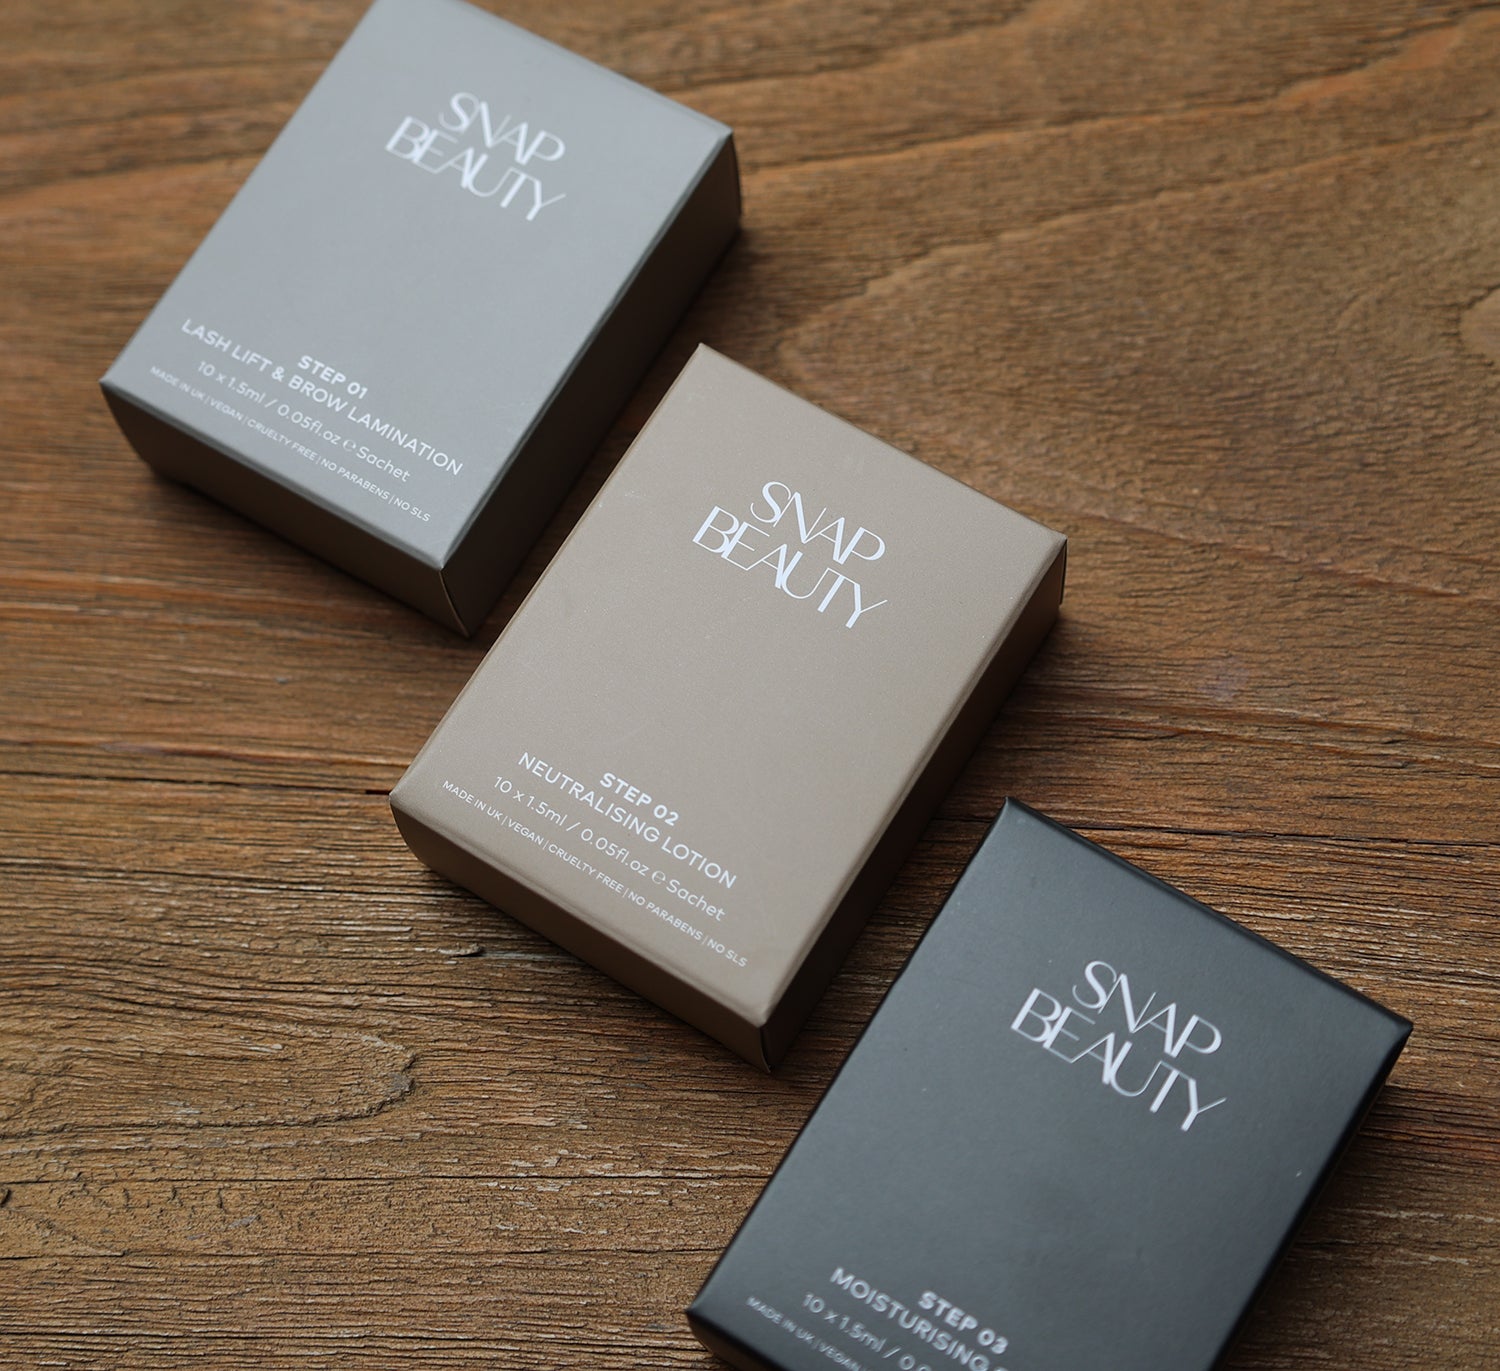
To our brow lamination kit
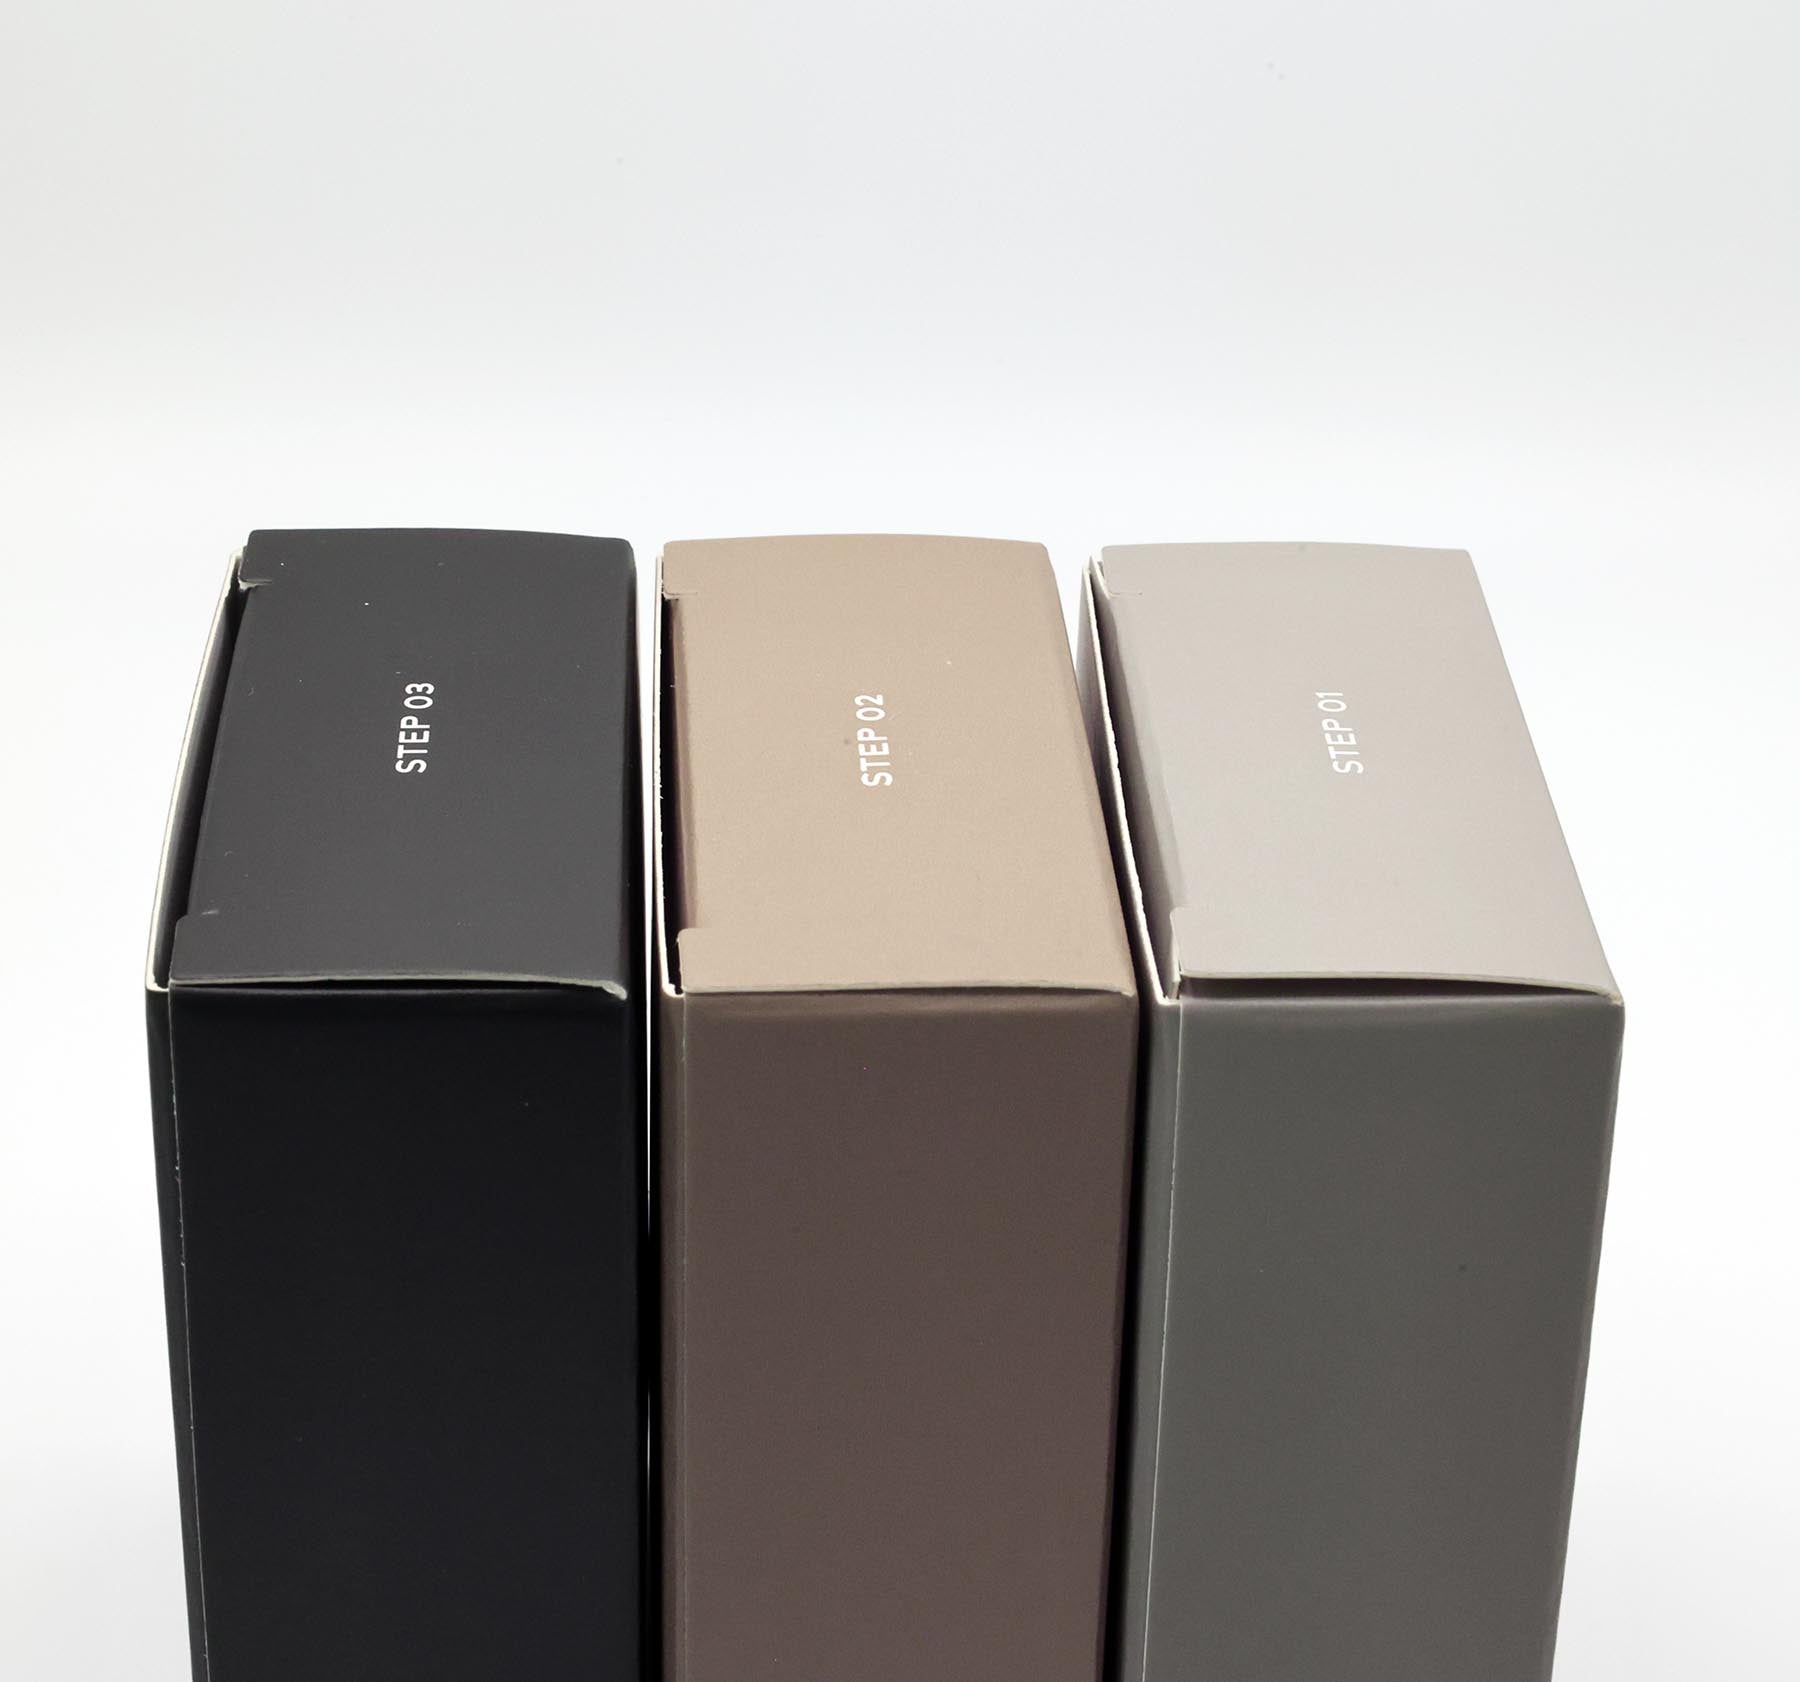
LIFT
SCULPT
DEFINE
FREQUENTLY ASKED QUESTIONS
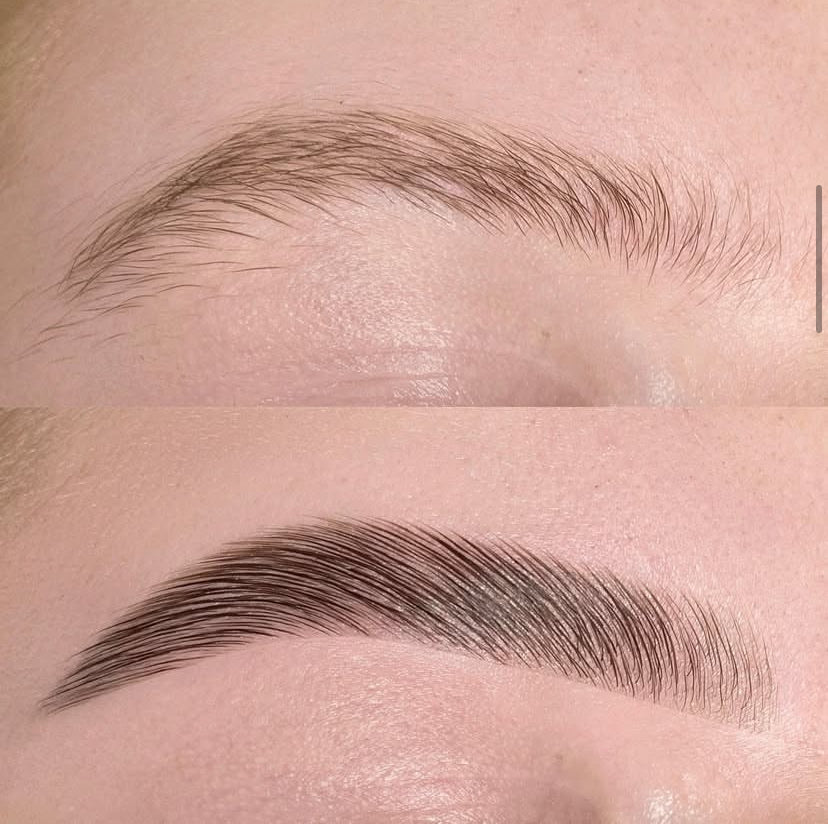
Brow lamination is a cosmetic treatment that involves restructuring the eyebrow hairs to keep them in a desired shape. It’s often referred to as a “brow perm,” as it uses a chemical solution to set the hairs in place, creating a fuller and more uniform look. This treatment can smooth out unruly brows, add volume, and give the appearance of thicker, more defined eyebrows.
Yes of course! Our customers commonly incorporate waxing, tinting or threading into their brow treatments. We strongly encourage using our product for lash lifts too - this way you're able to simultaneously complete both treatments.
Brow Lamination typically lasts 6-8 weeks. We advise not getting the brows wet for 24 hours for maximum longevity.
AFTERCARE
Letting your clients know how to care for their brows post-treatment, is highly important. Let them know the following aftercare steps to have maximum longevity from their brow lamination treatment.
1. Advise your clients to keep their brows dry for 24 hours post treatment. Getting them wet will undo all of your hard work, so ensure they're fully aware to do that!
2. Avoid steam rooms, sauna's and excessive sweating. It's a good idea to know if your client is off to the gym straight after their appointment - doing so will likely affect the results of their treatment due to sweating, or visiting the sauna post workout. Tell your clients to chill and relax after seeing you for best results.
3.Hydration is key to keeping your clients lamination looking the best over the 6-8 weeks that it'll last. Using an oil, or a hydrating balm over the brows after treatment will ensure they're still looking hydrated and silky.
brow lamination kit
HOW TO USE
Our brow lamination kit is easy to use, quick and will enable you to have good profit margins.
To get the most from our solutions, pierce with a pin or lash lift tool and keep in the fridge in an air-tight container.
Preparation
Before beginning the treatment, ensure your client is comfortable and positioned for you to work effectively. Use a reclining chair that allows you to move around freely, enabling you to view their brows from all angles.
Ask your client to complete a consultation card and check for any contraindications before proceeding.
Take a "before" photo of the brows before starting the treatment to document progress and results.
Step-by-Step Instructions
1. Cleanse the Brows
- Cleanse the brow area with an oil-free cleanser to remove all traces of makeup or oils.
- Ensure the brows are completely clean and dry before moving to the next step.
2. Apply Step 1 (Lifting Solution)
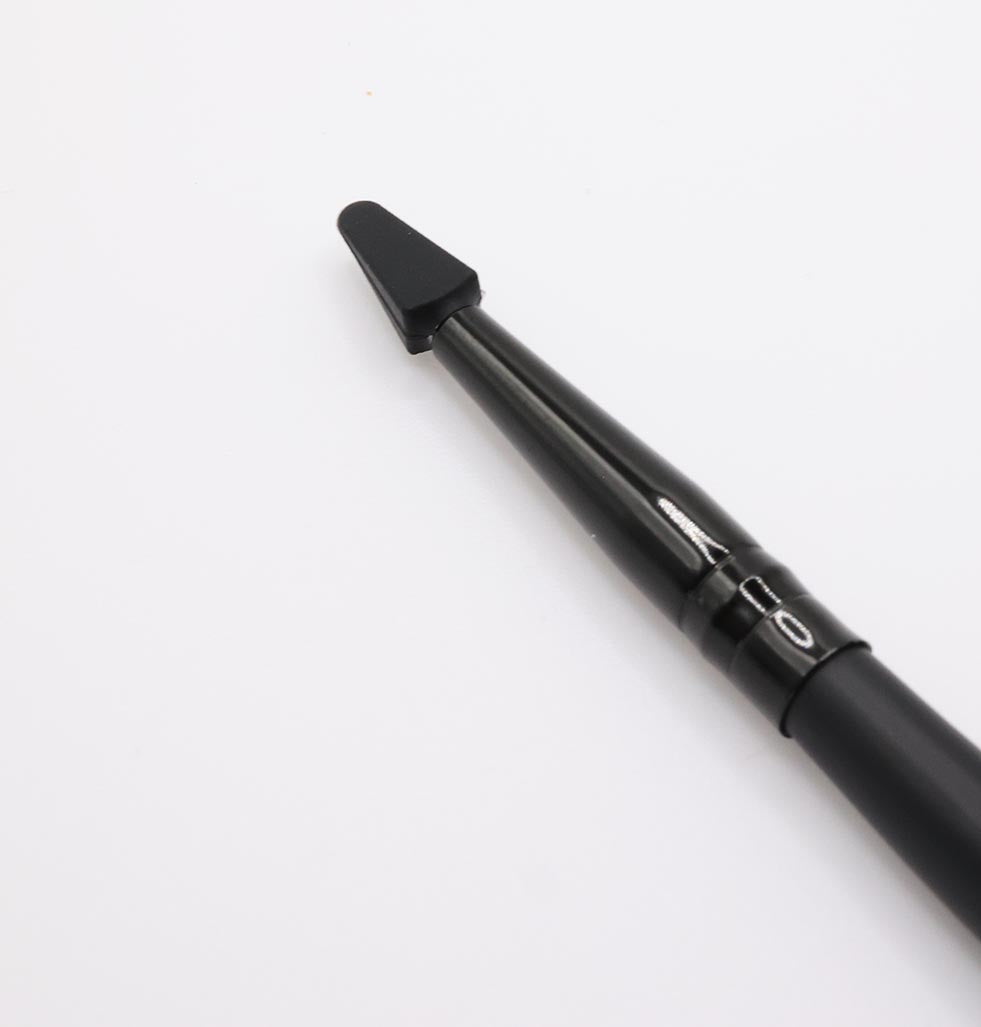
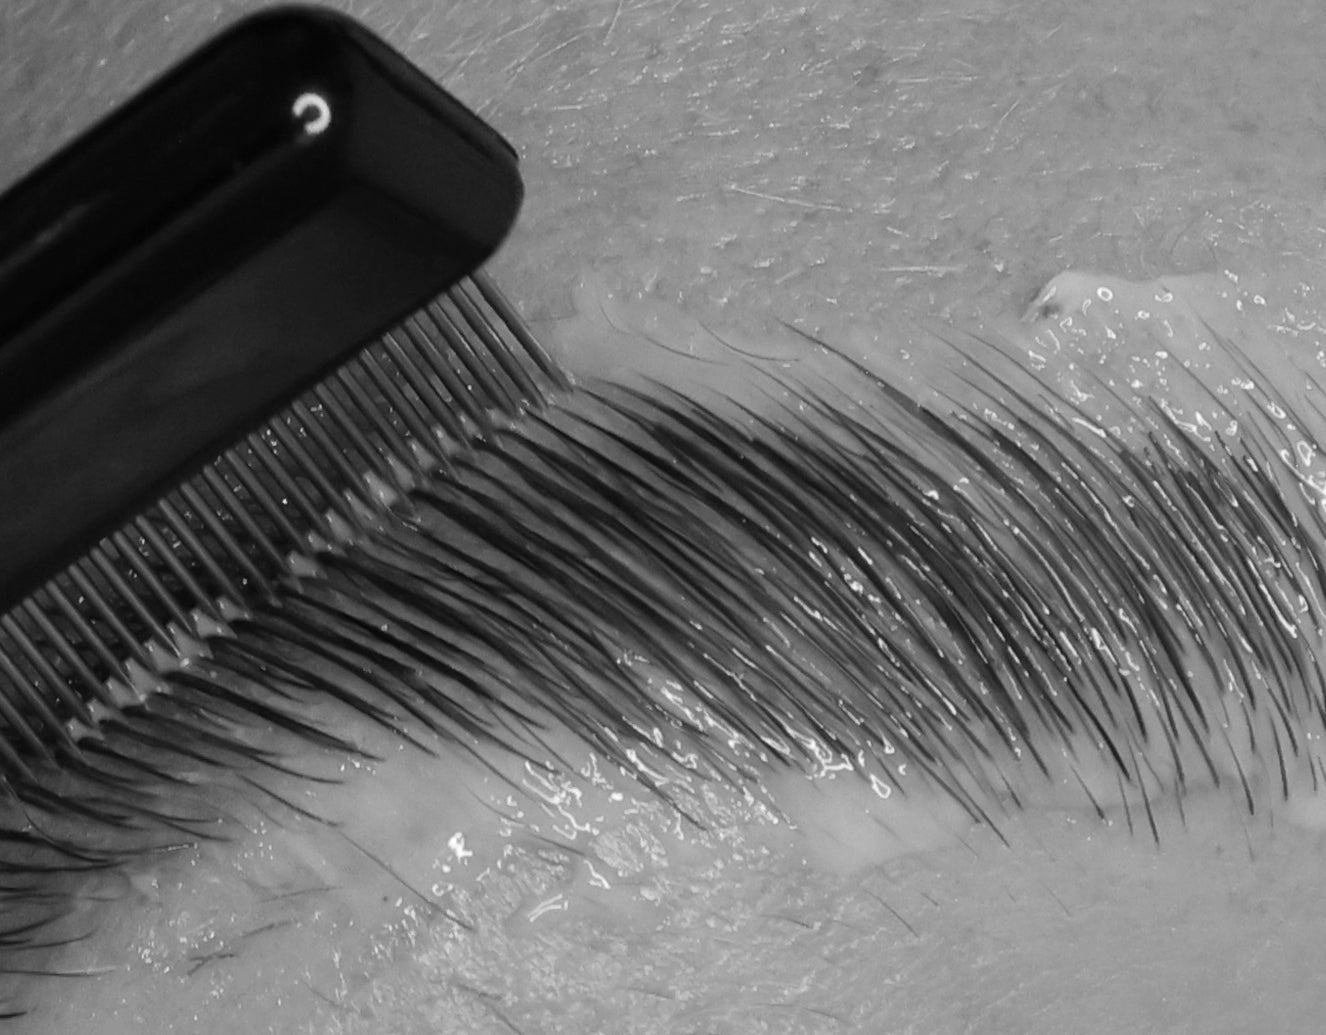
Use our re-usable applicator to apply Step 1 in an upward motion, ensuring all brow hairs are coated evenly.
Step 1 develops at different rates depending on the thickness of the brows. Use the following timings as a guide and comb through the brows periodically to check progress.
Guide Timings:
Very fine brows: 2–4 minutes
Fine brows: 3–4 minutes
Medium to full brows: 4–6 minutes
Coarse, full brows: 5–7 minutes
- Once the brows are soft, fluid, and fully developed, gently remove Step 1 using a clean cotton bud. Follow up with a clean cotton pad to remove any excess product.
Important: Do not use cling film, water, or any damp materials during the development or removal of Step 1. Exposure to water within 24 hours will reverse the results.
Cling film is only recommend with very thick and course brow hair. We do not recommend the use of cling film on thin or normal hair.
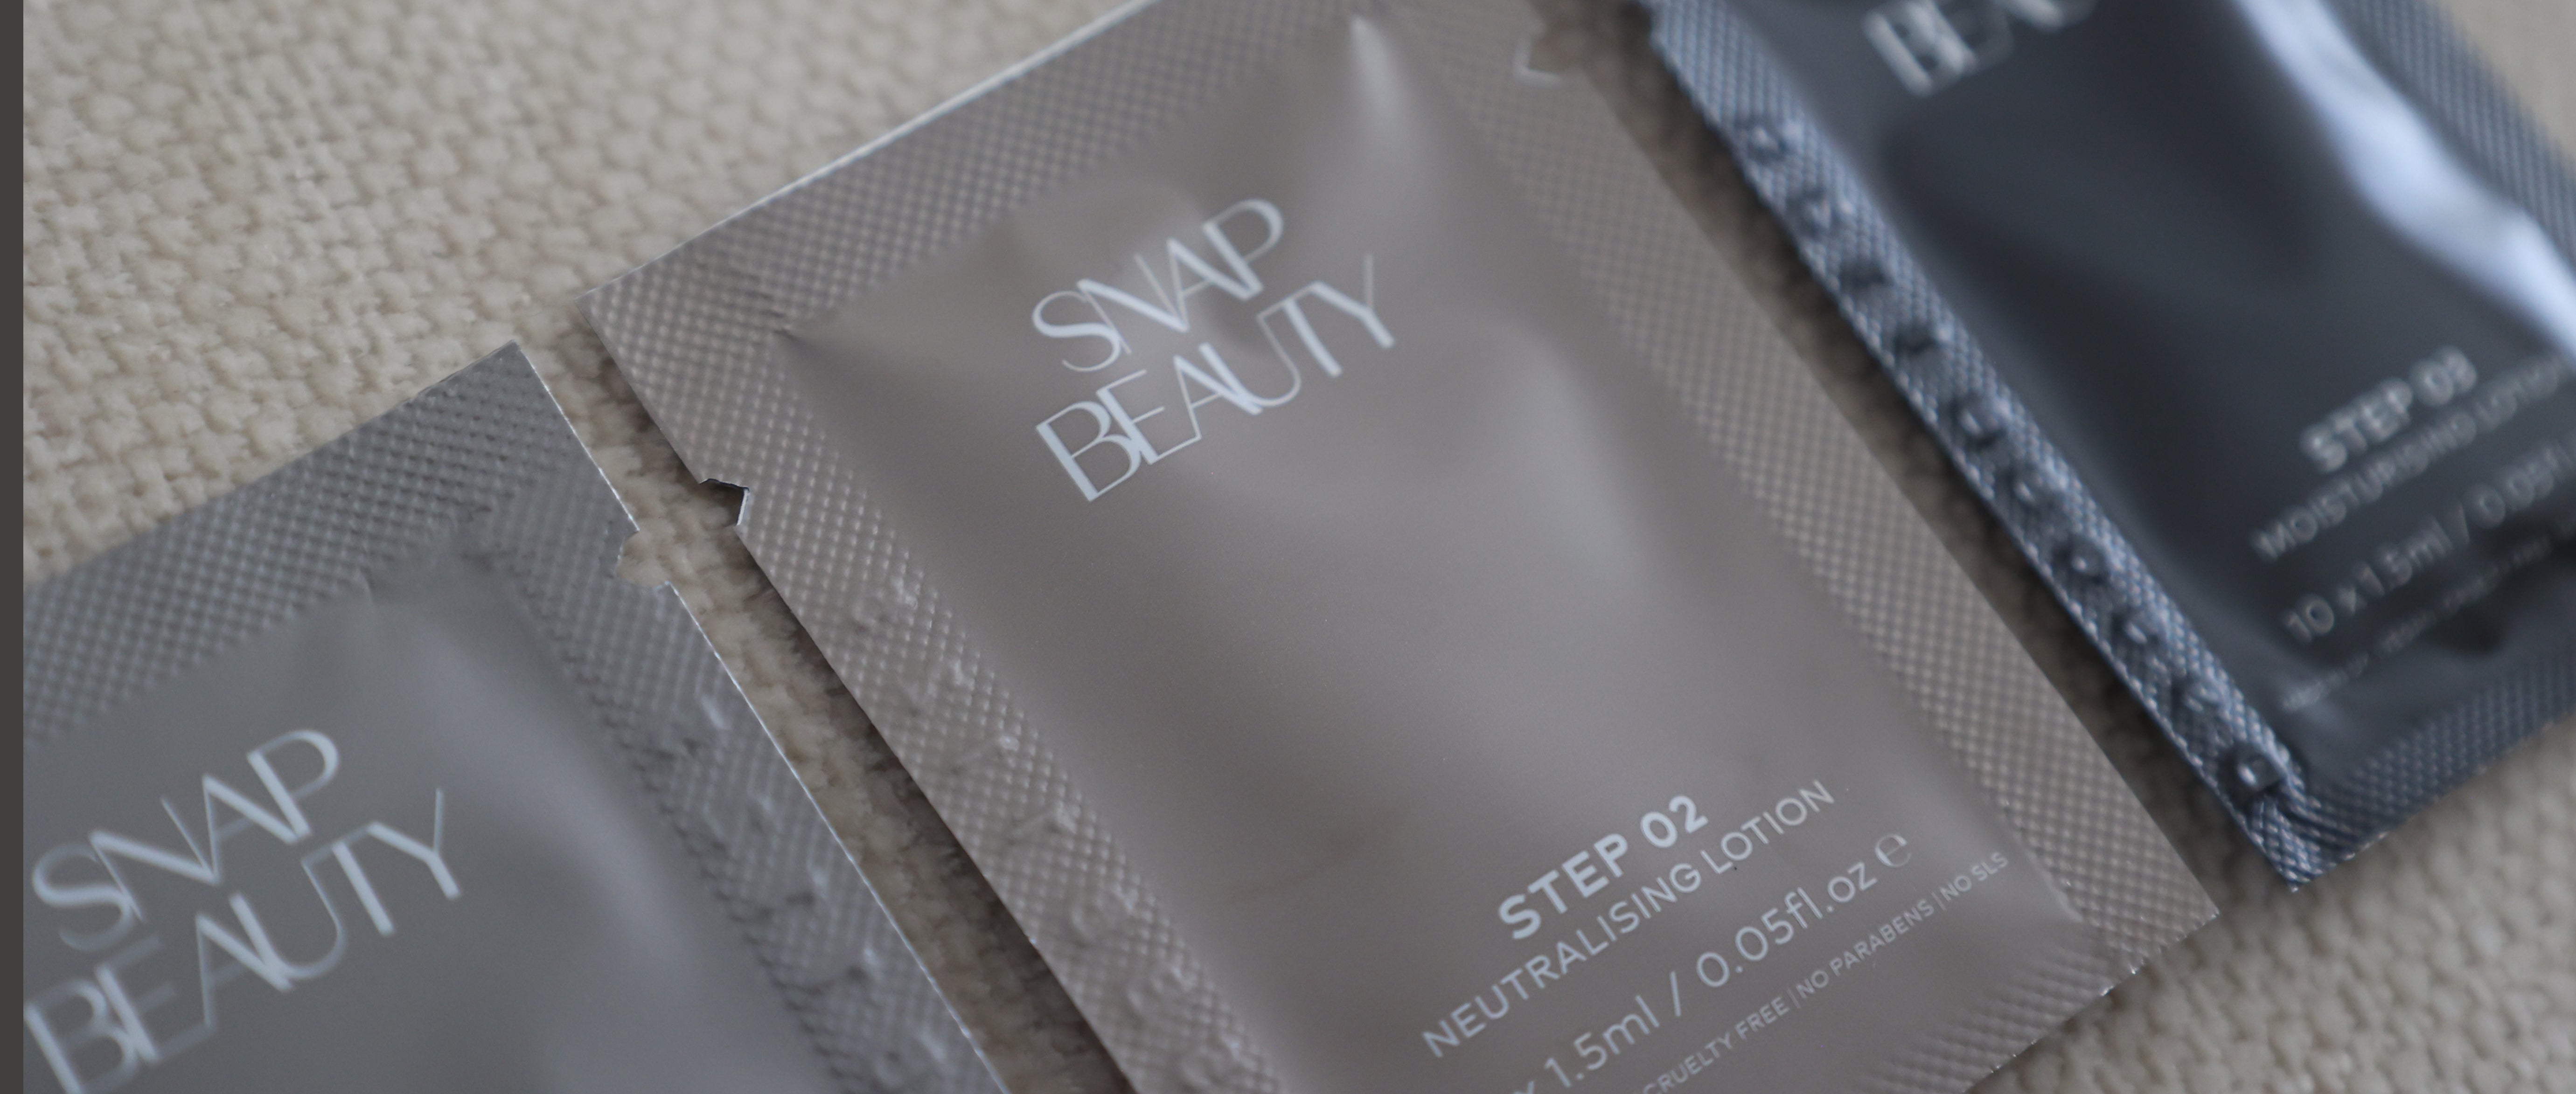
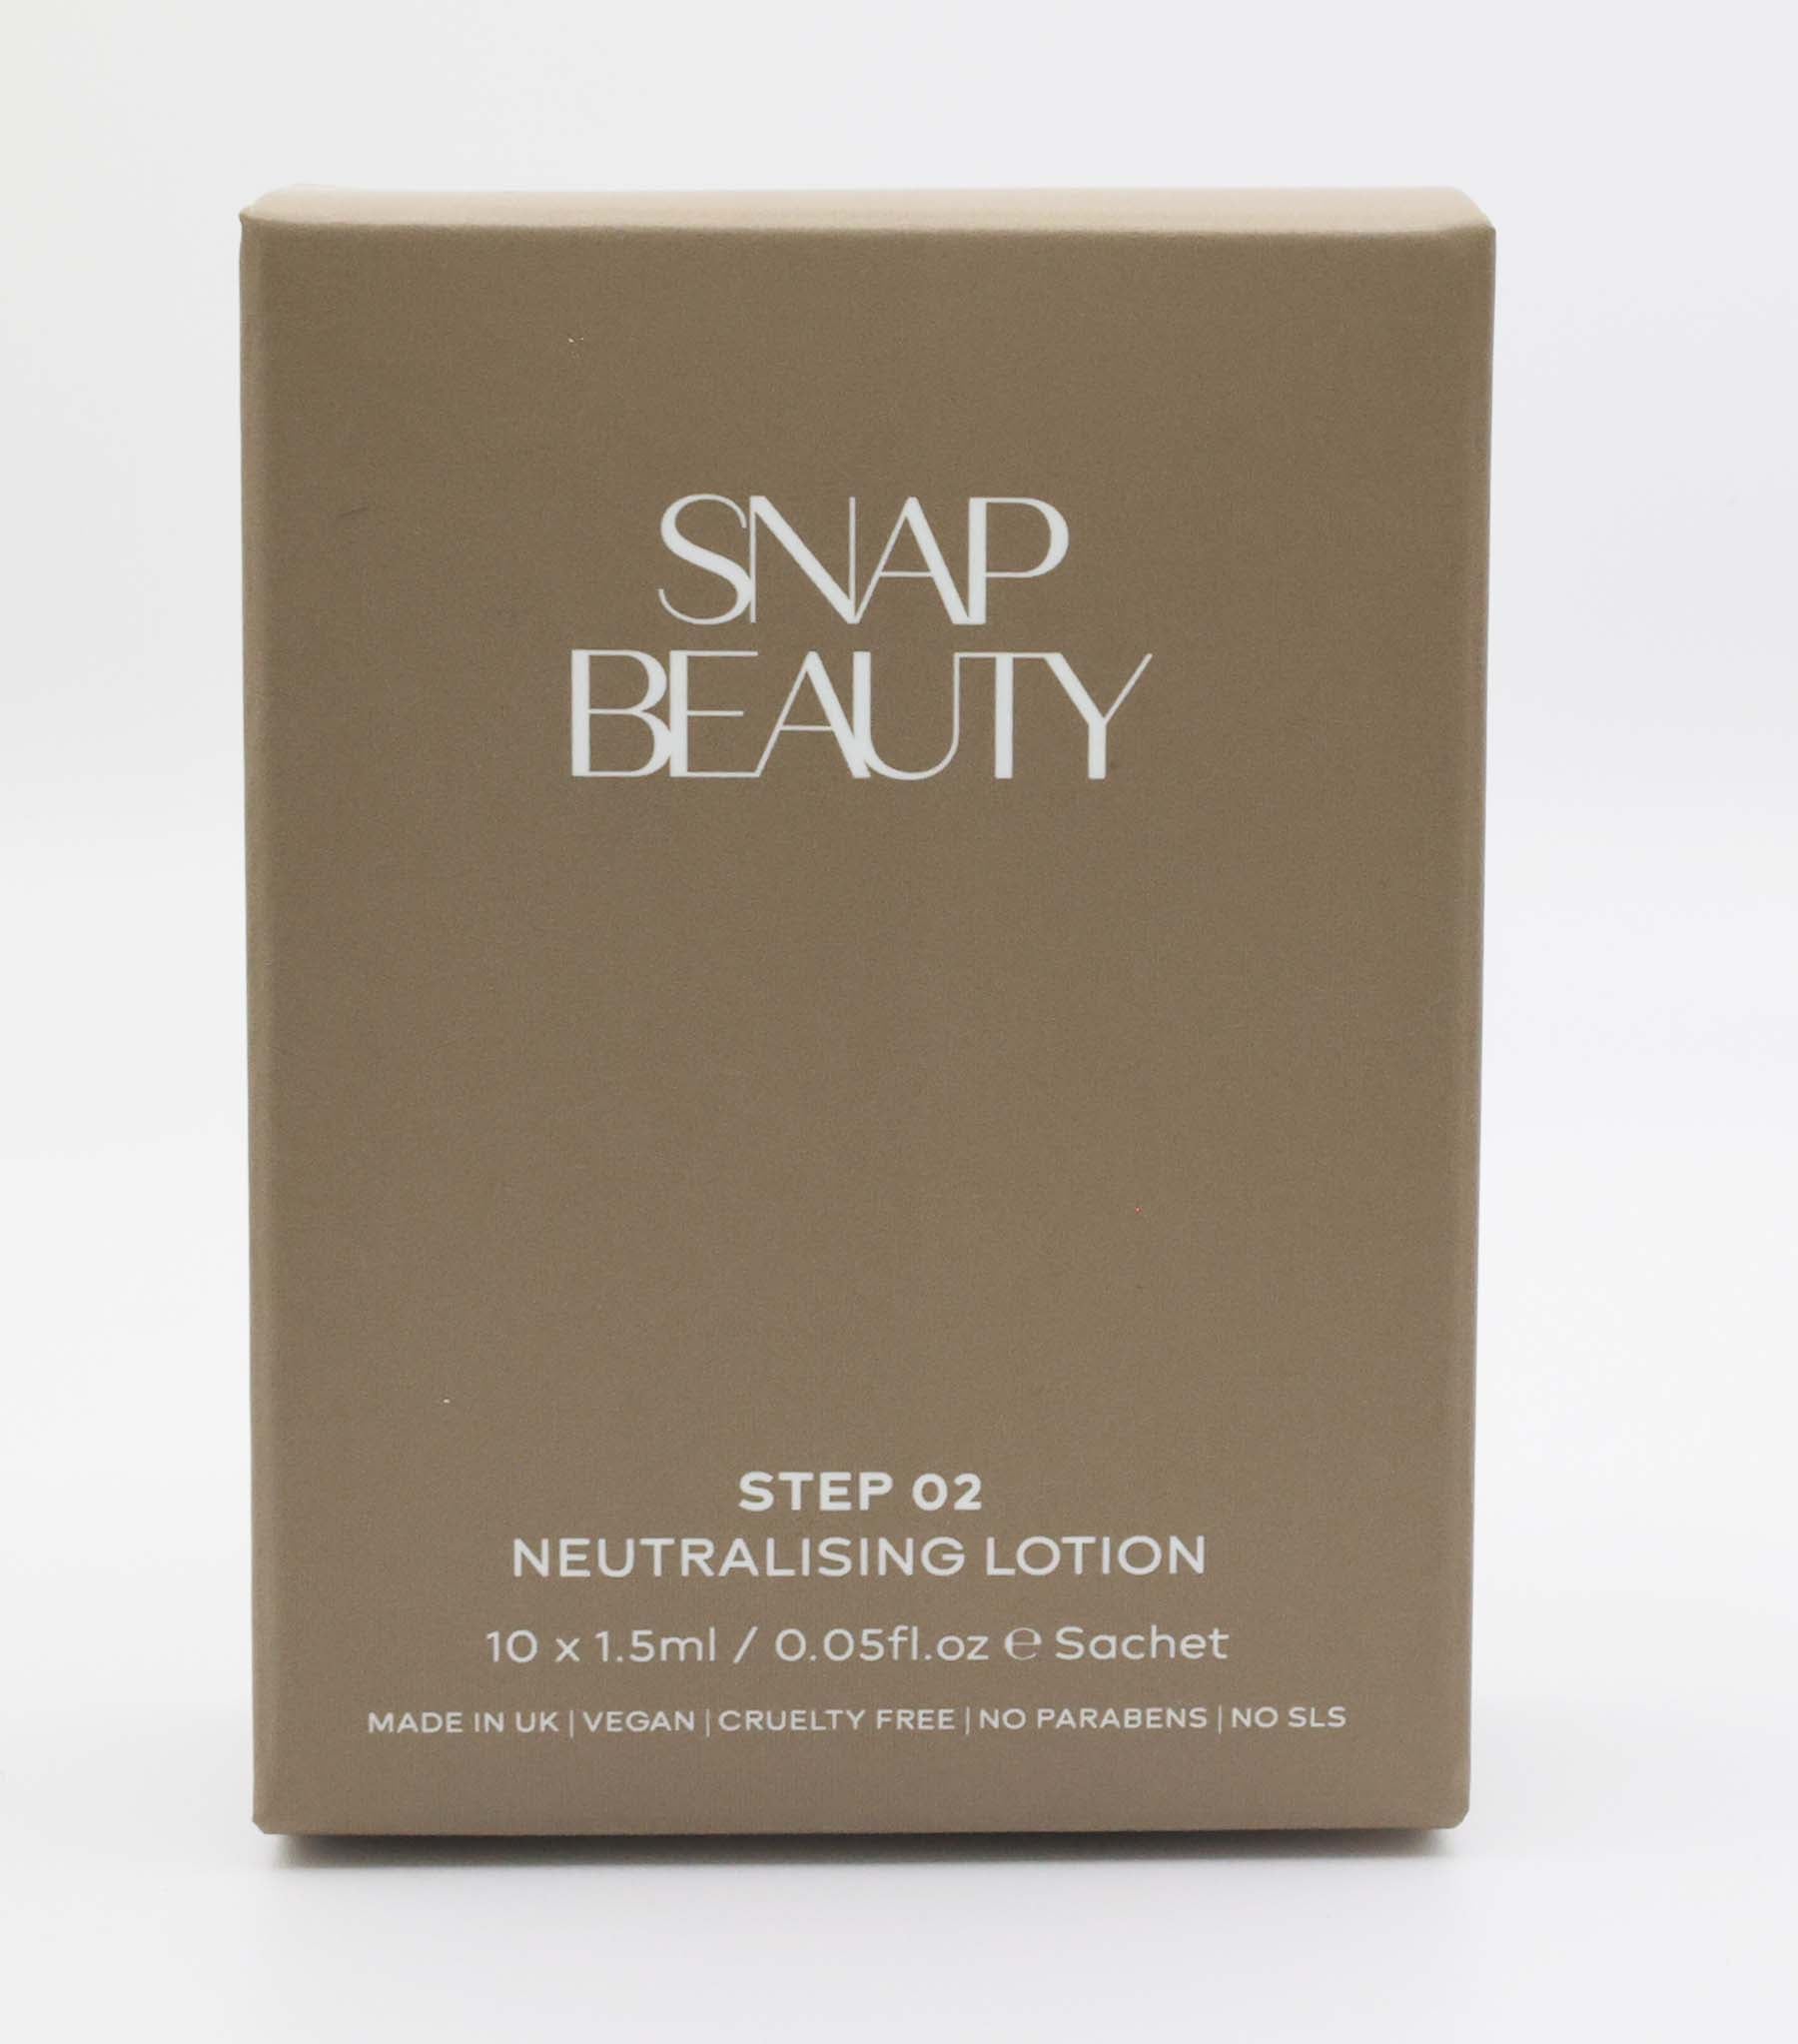
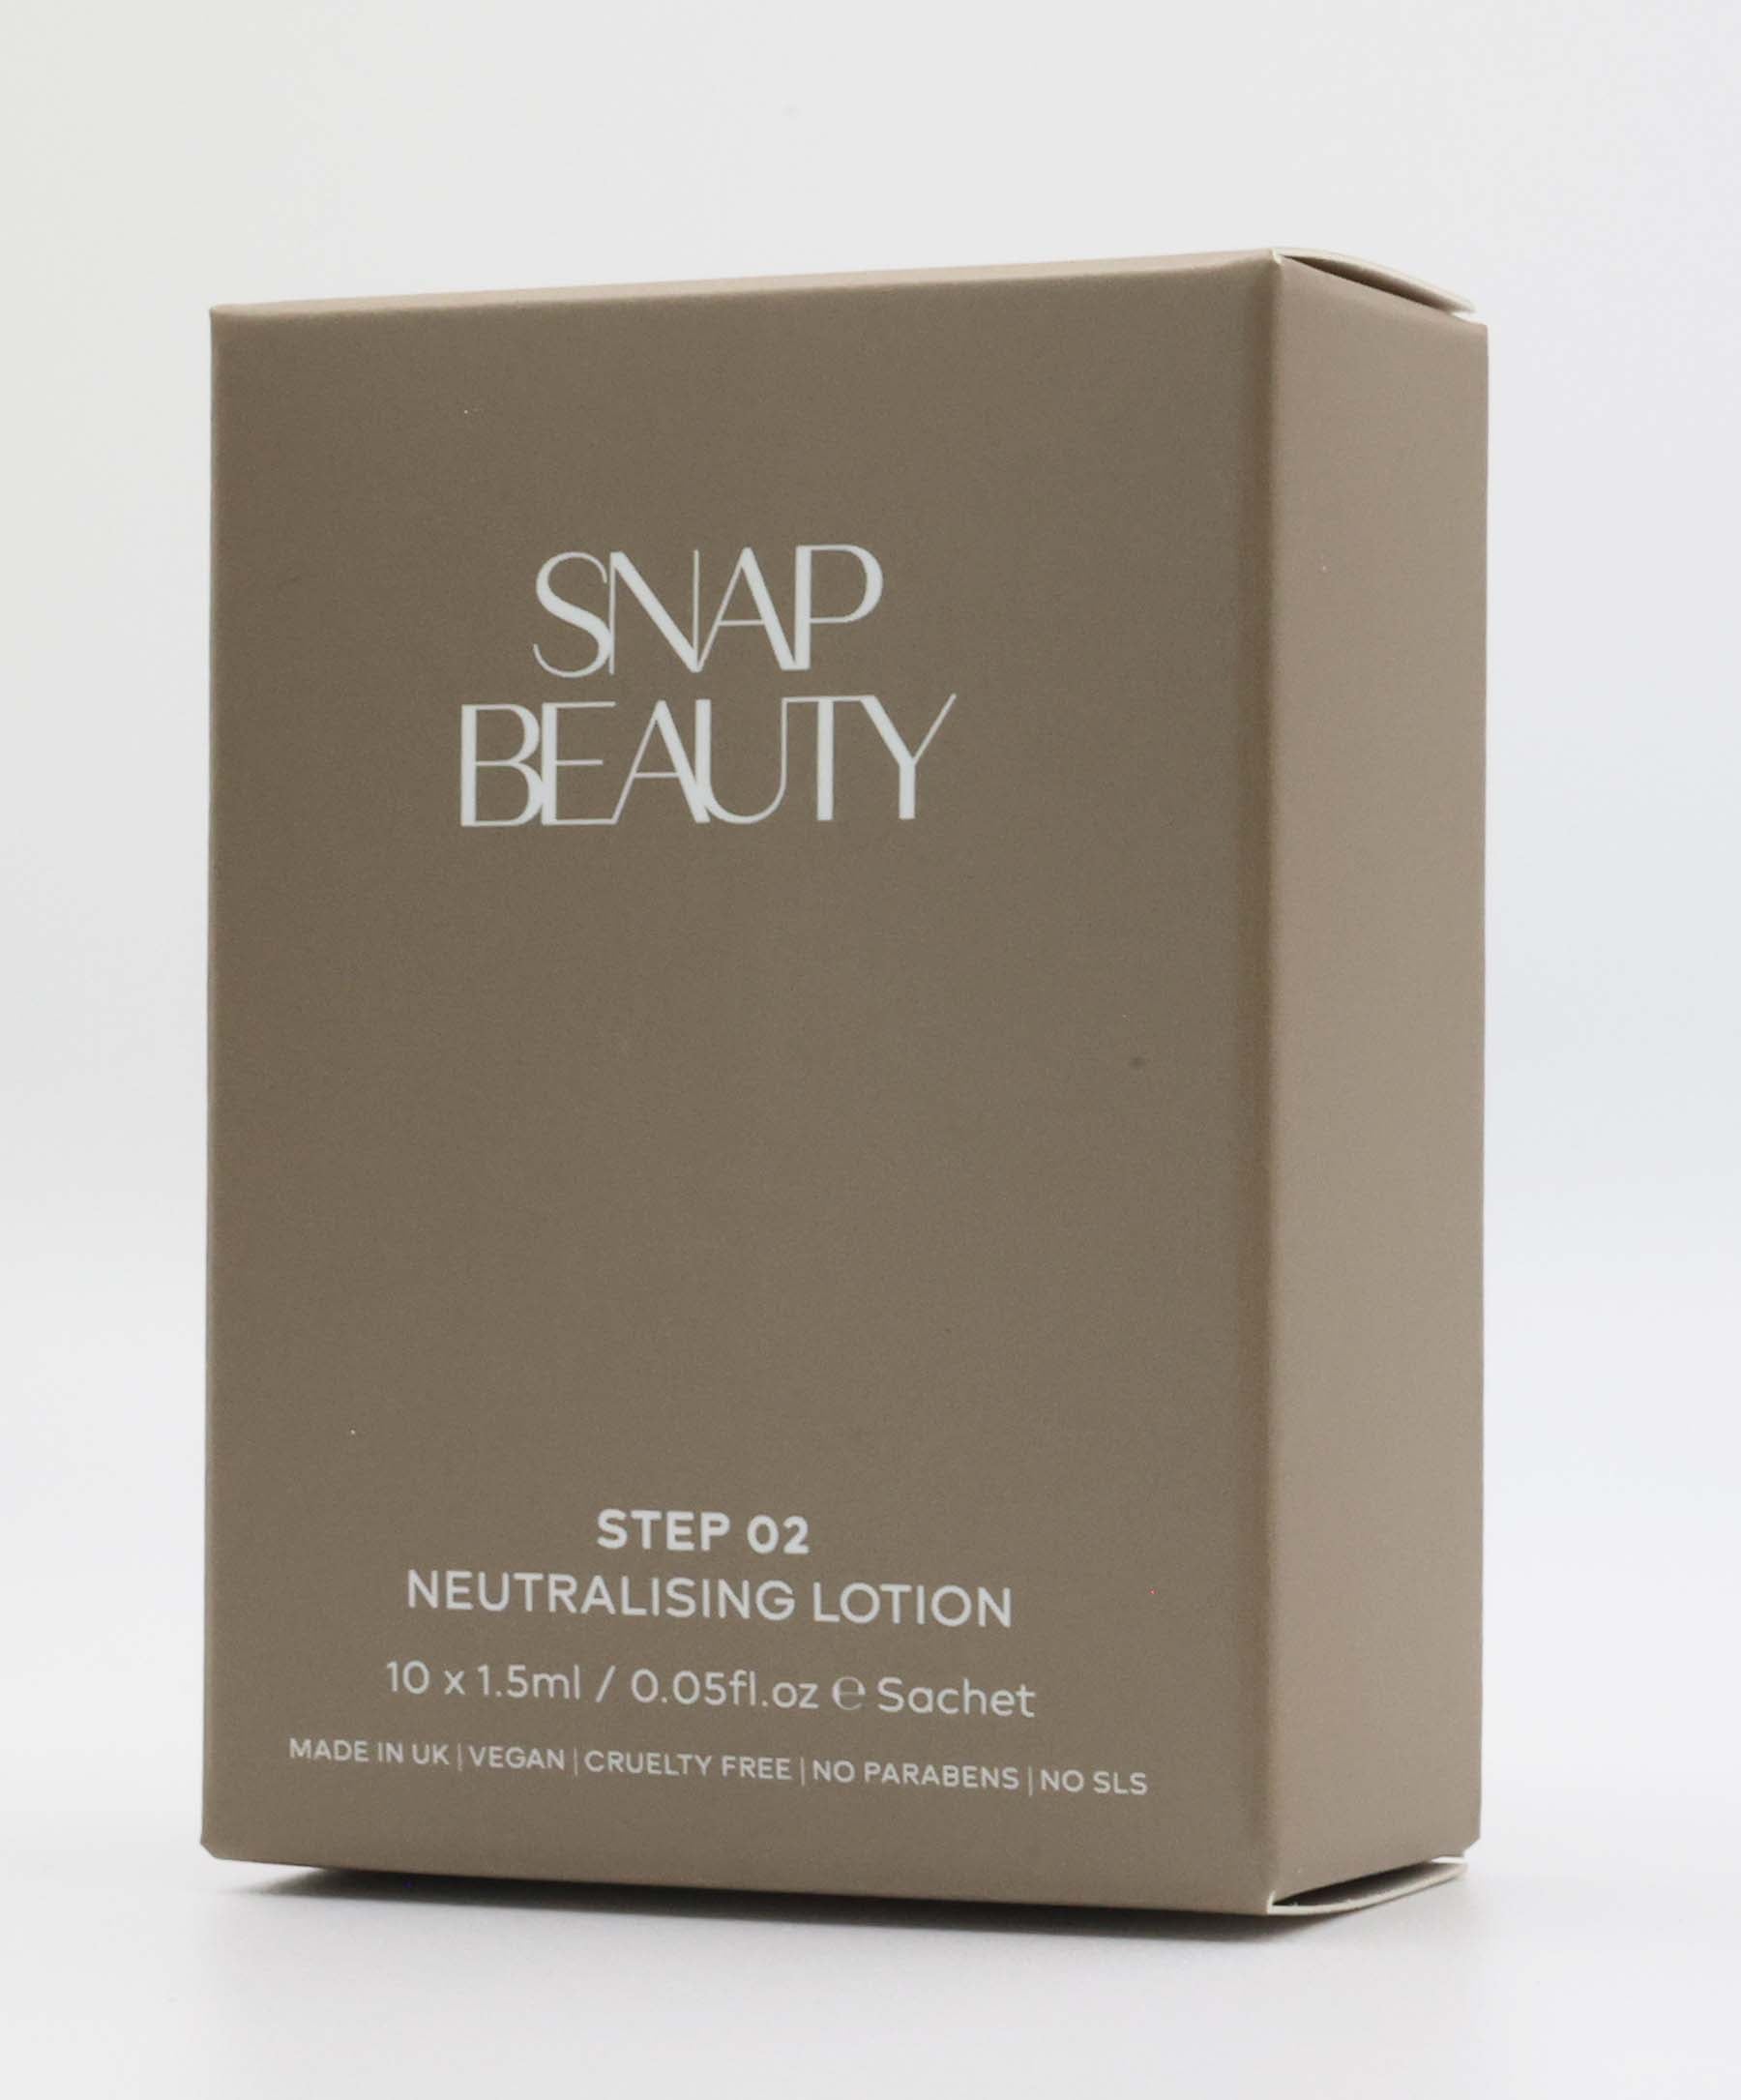
3. Apply Step 2 (Neutralising Solution)
- Apply a thin, even layer of Step 2 to the brows using the reusable applicator. Ensure all hairs are thoroughly coated.
- Use the following timings as a guide.
Guide Timings:
Very fine or fine brows: 5 minutes
Full or coarse brows: 6 minutes
- Remove Step 2 using a clean cotton bud, then gently sweep a cotton pad over the brows to ensure all product residue is removed.
4. Apply Step 3 (Conditioning Serum)
- Apply a light layer of Step 3 to hydrate and moisturise the brows.
- If waxing, threading, or tinting is part of the treatment, apply Step 3 after completing these additional services as the final step.
Final Steps
- Take an "after" photo of the brows to showcase the results.
your client's brows
How to maintain
- Regular Appointments:
Schedule touch-ups or re-lamination treatments every 6–8 weeks to maintain the desired look.
2. Enhance with Tinting:
If your laminated brows start to fade, a brow tinting session can add definition and color to refresh your look.
3. Complementary Products:
Use brow styling products, like a brow gel, to add hold and enhance the laminated effect between treatments.
HOW TO KEEP YOUR SOLUTIONS
To keep your solutions fresh and able to be re-used, we advise piercing them with a lash lift tool or a pin of some description. Keeping the hole as small as possible will affect how much air is able to get to the active ingredients.
After you have finished using your solutions, we advise wrapping your sachet in micropore tape.
Finally, keep your solutions in the fridge for maximum longevity.
You should be able to get up to 7 treatments out of your solutions, with sachets lasting in the fridge for 5 days.