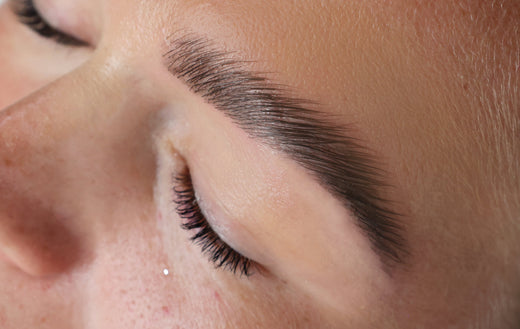
How to use Snap Beauty's lash lift products
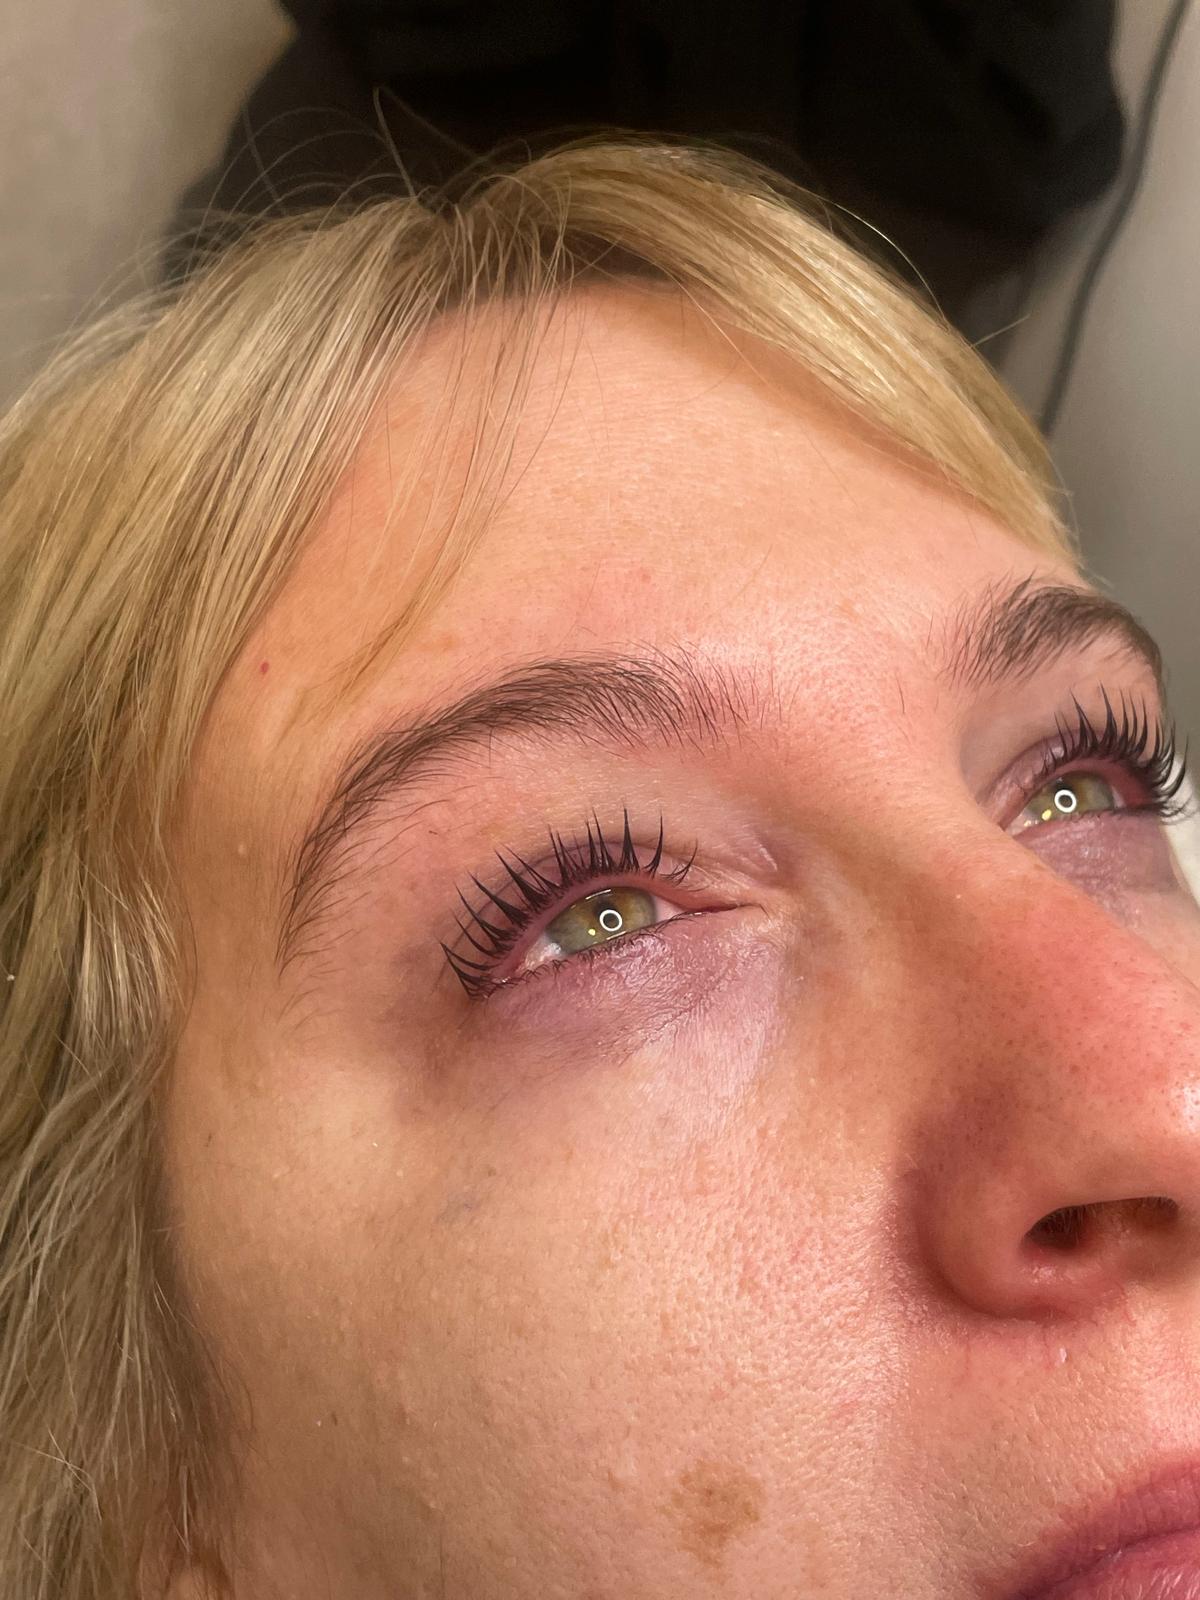
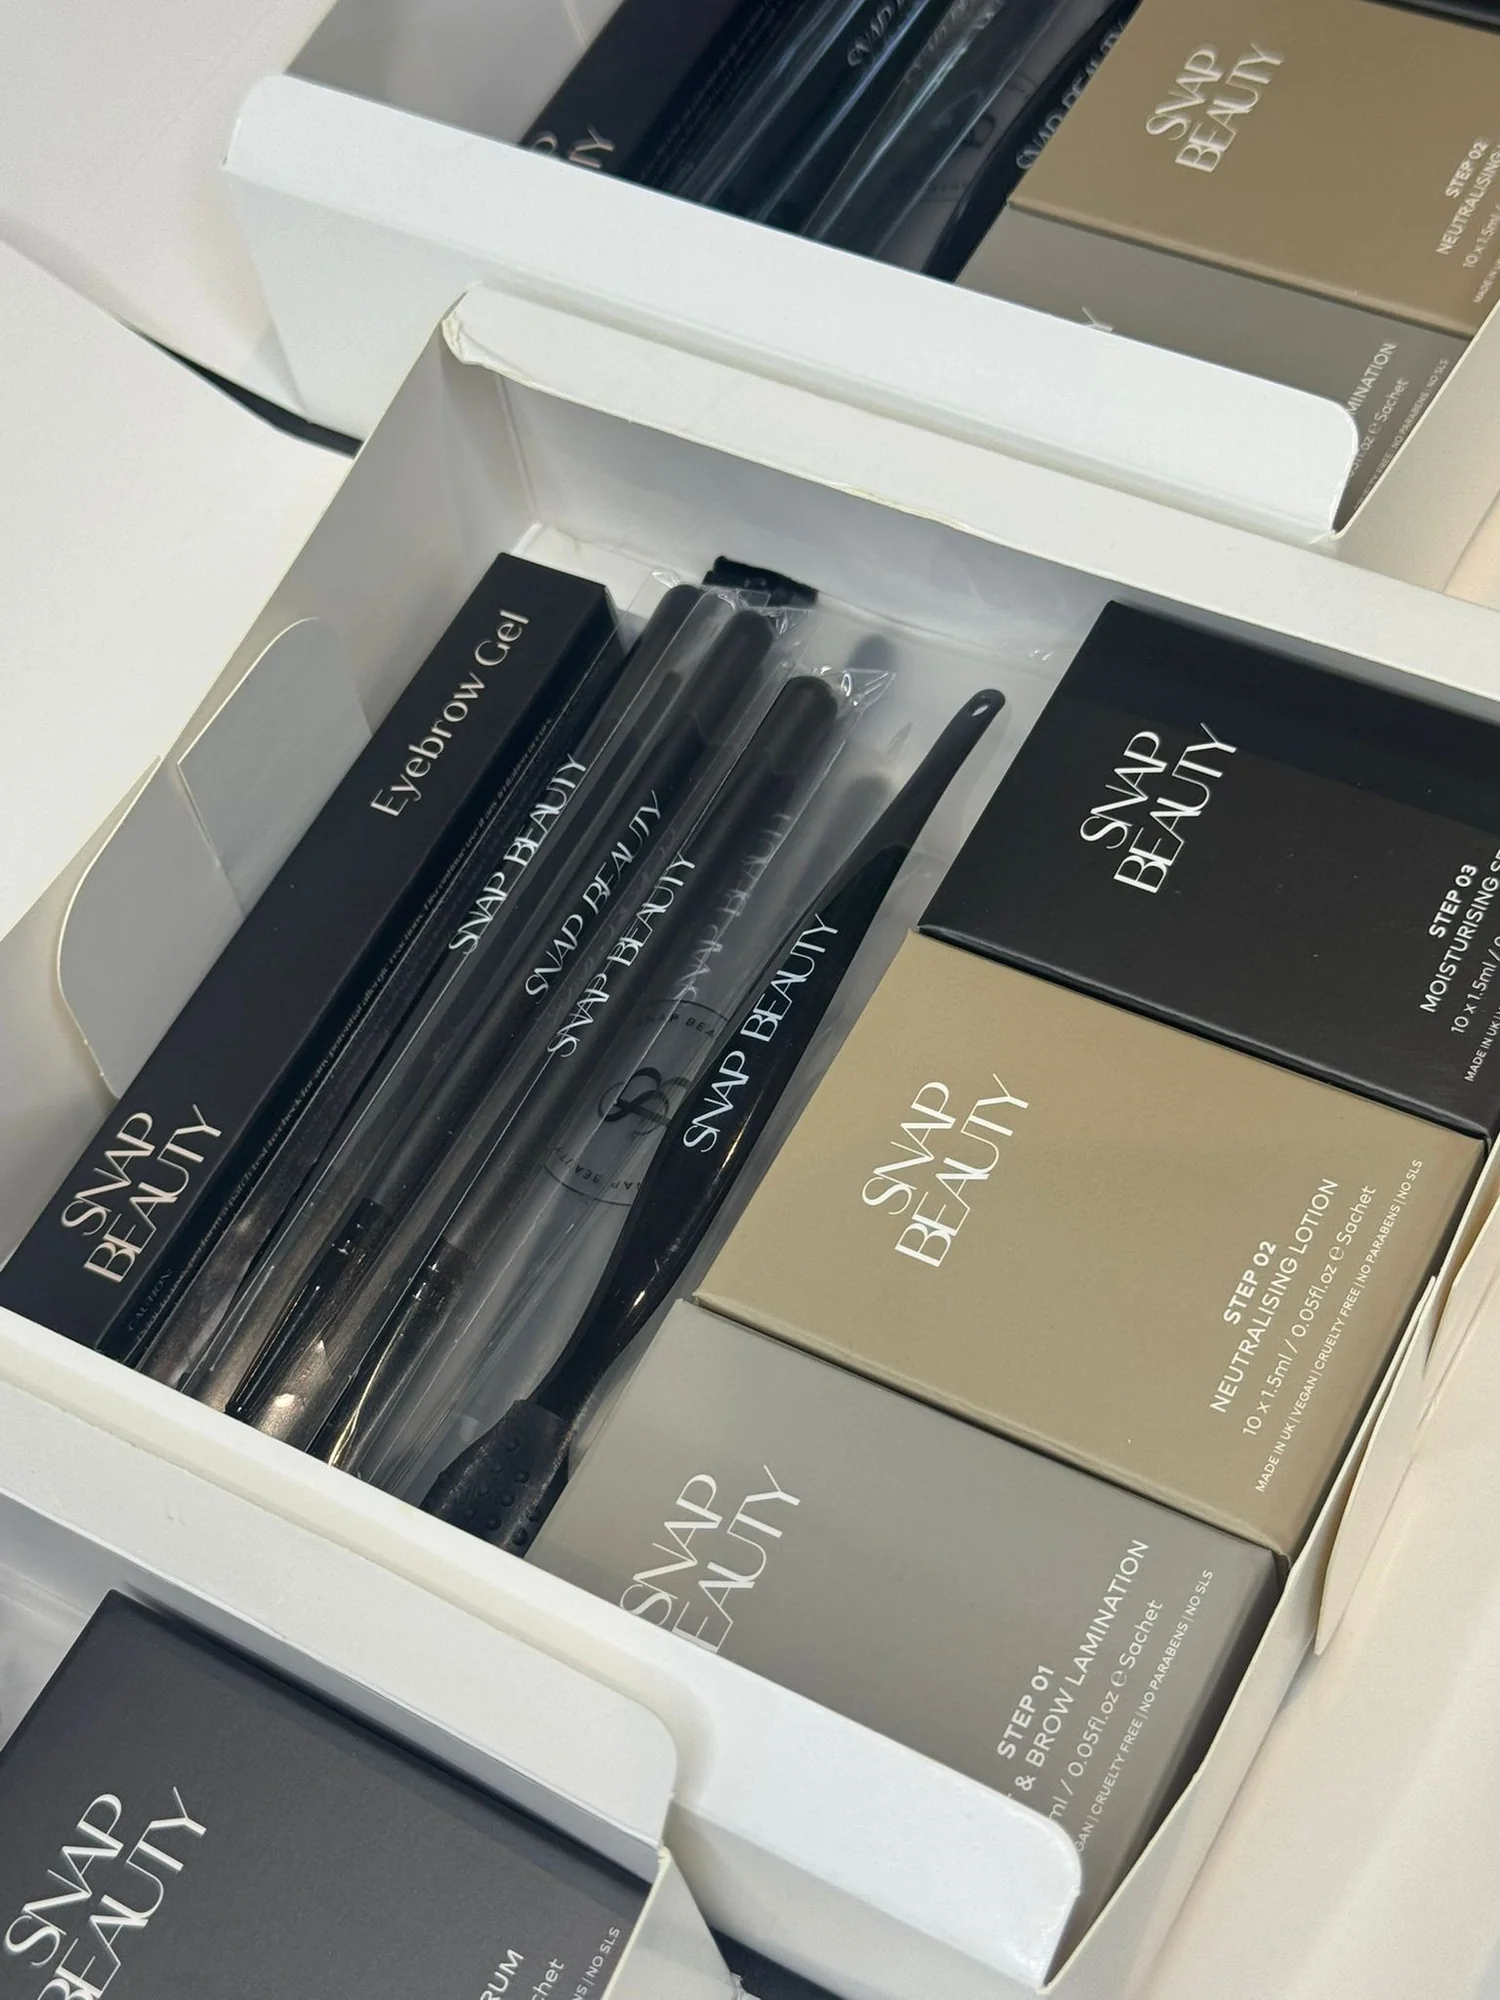
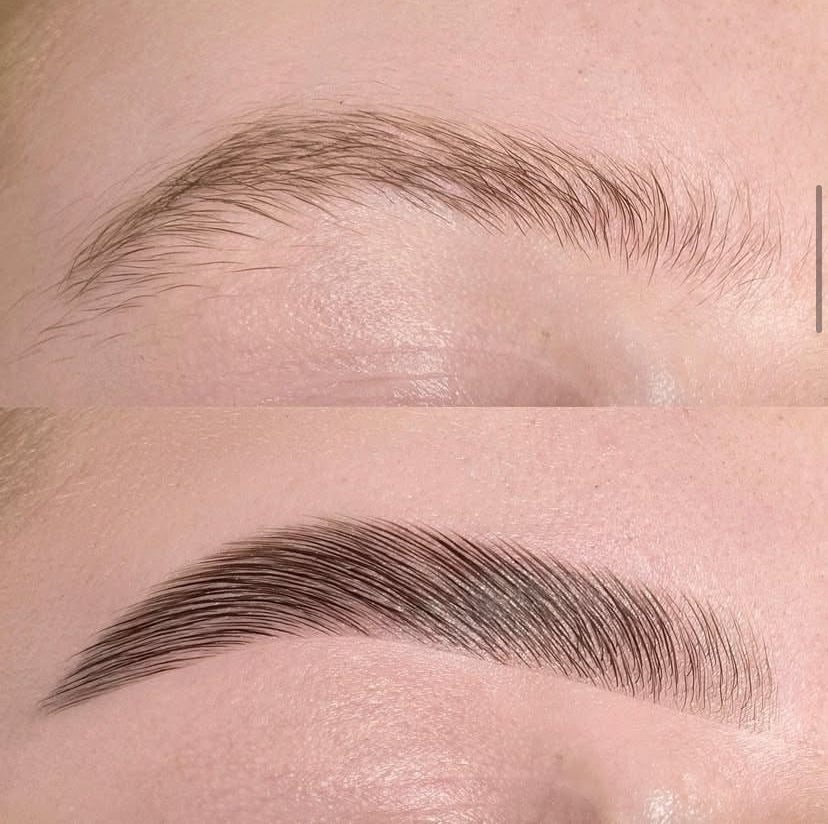
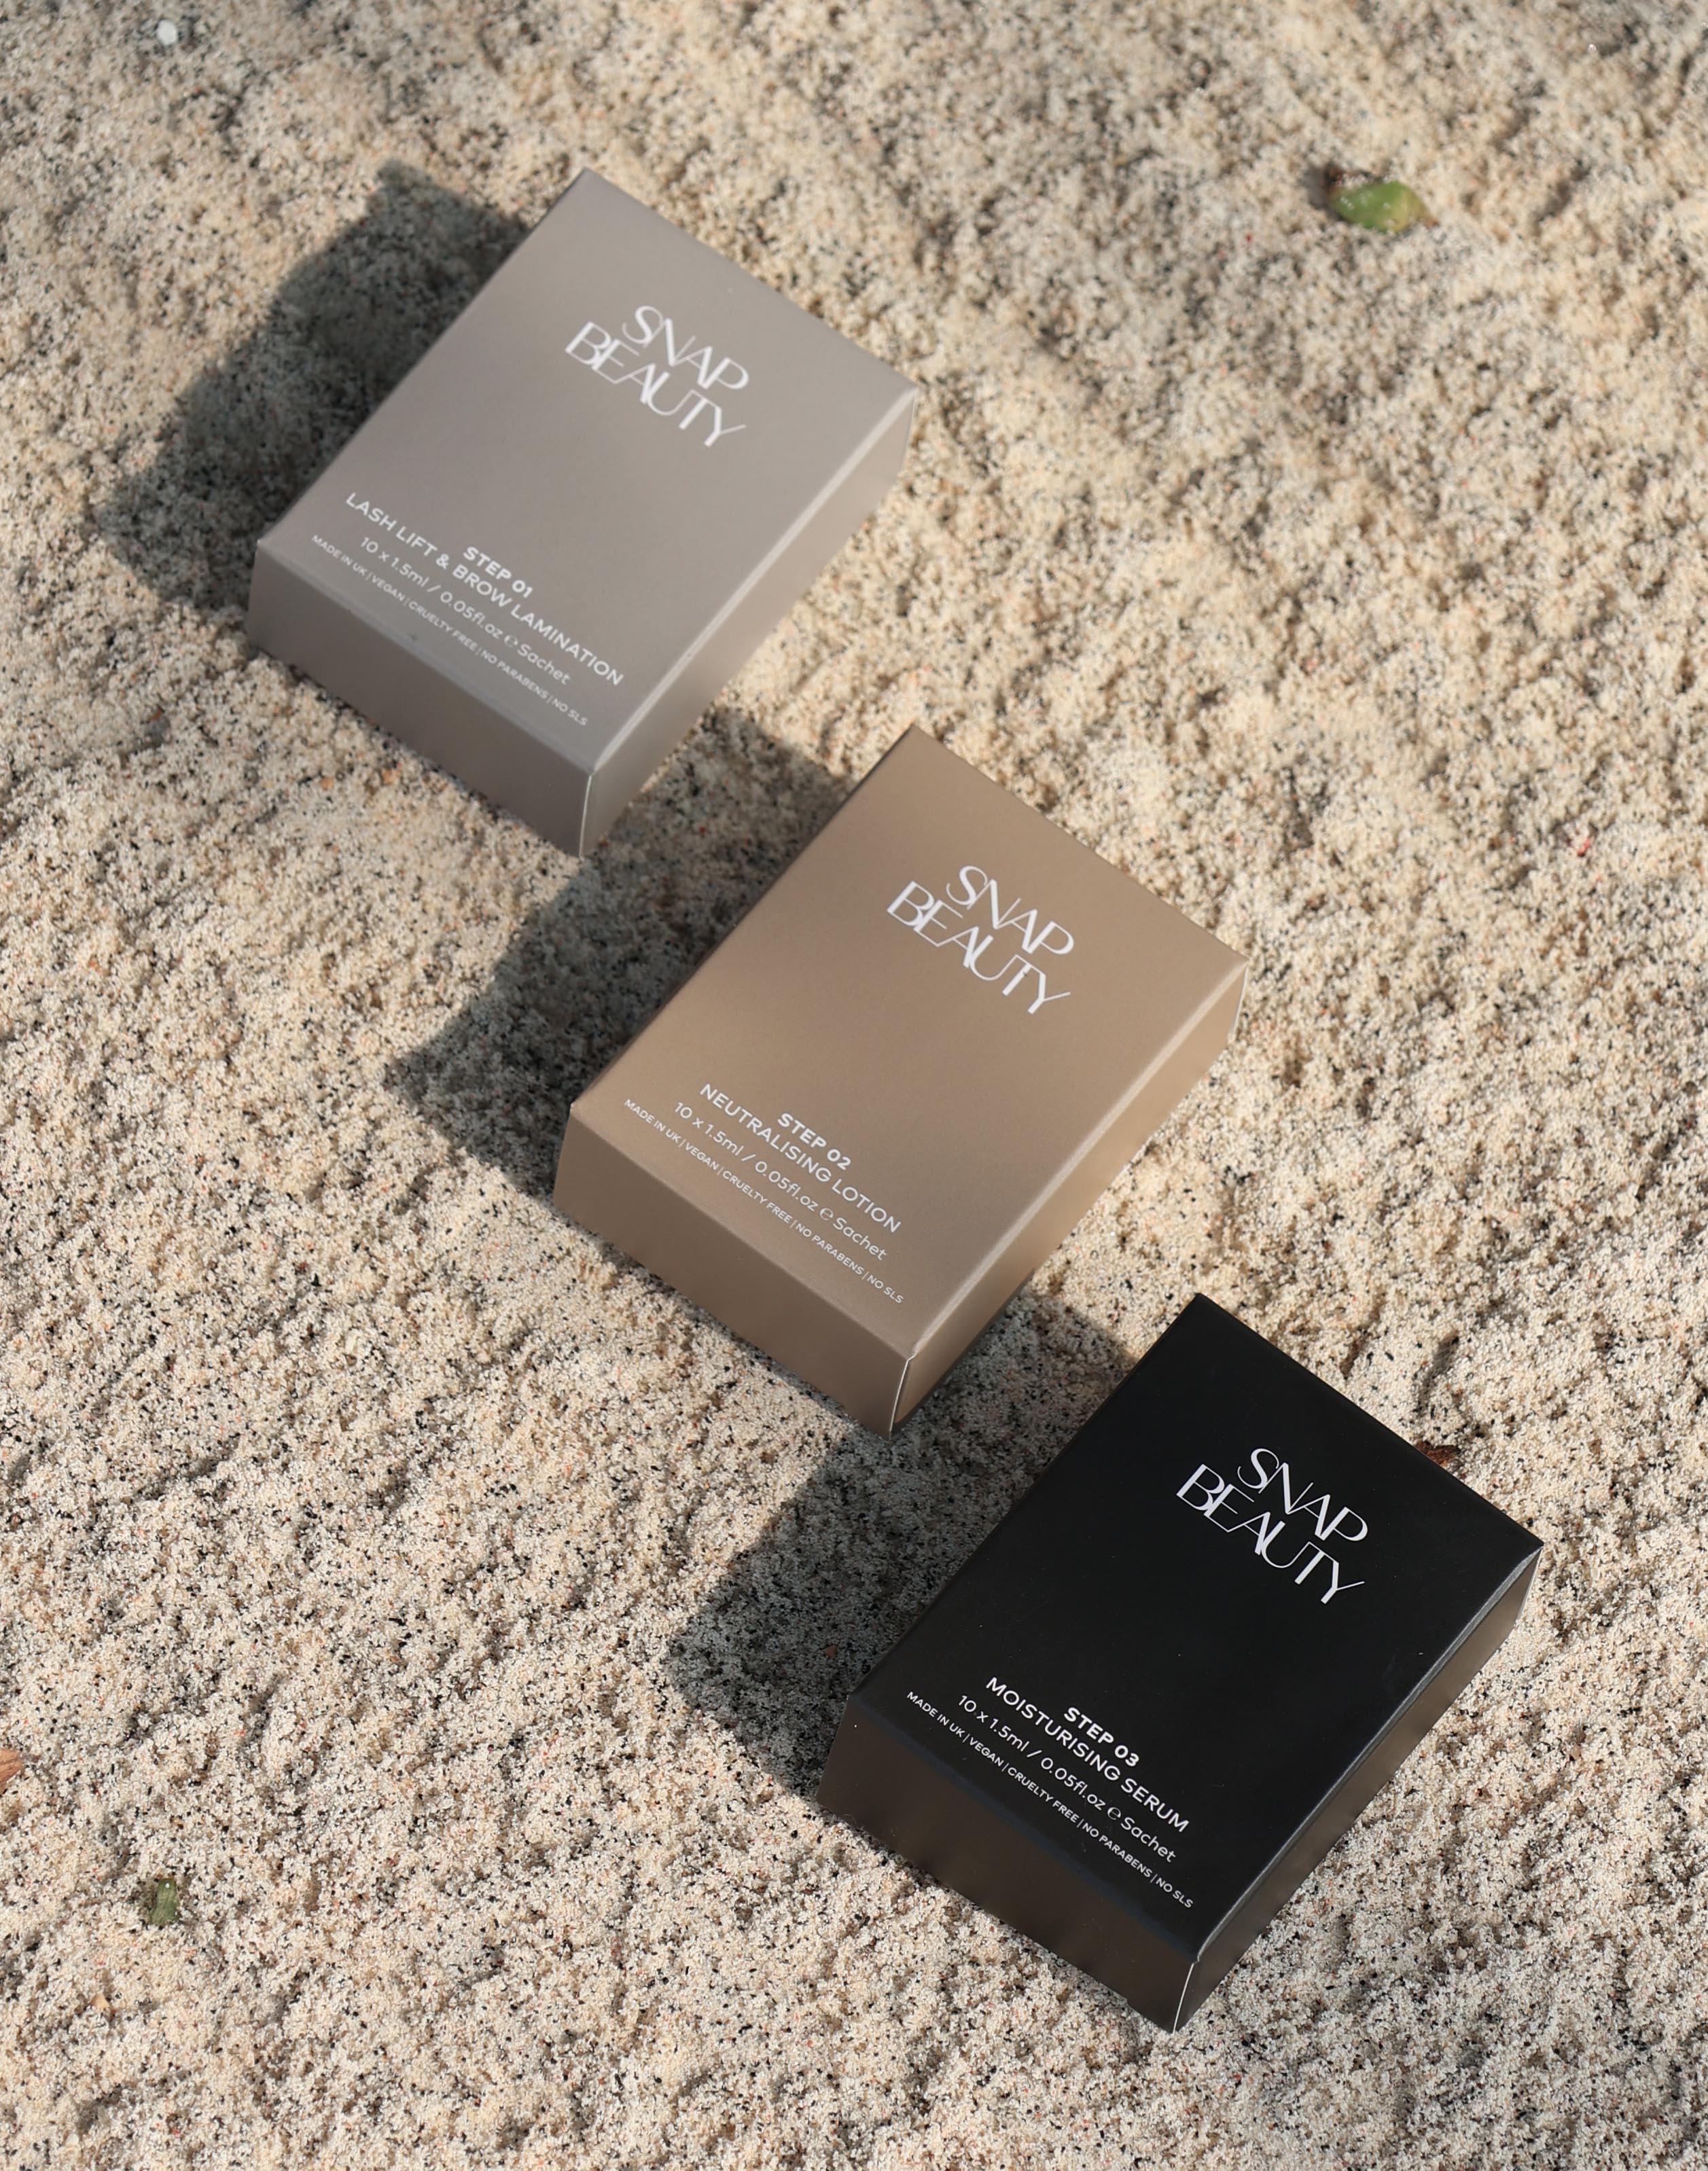
As we all know lash lift's are quickly taking over as a popular treatment and are becoming extremely popular. As well as using our sachets for brow lamination they are multi-purpose and can be used for lash lifts as well. In this blog we will be divulging to you in detail how to use our products for a lash lift treatment.
Firstly, go through your consultation form with your client and establish any contraindications your client may have.
Next, it's time to decide on which shield to use. Top tip: get your client to look forward and have look at their lashes from the side to identify what shield is best to use. This will give you a more accurate idea of the angle your client's lashes naturally sit. Once you've decided which shield to use, get your client to lay down ensuring that they are comfortable and take some before photos.
Before starting the treatment, cleanse the lashes with an oil-free makeup remover to ensure the lashes are oil and makeup free before starting.
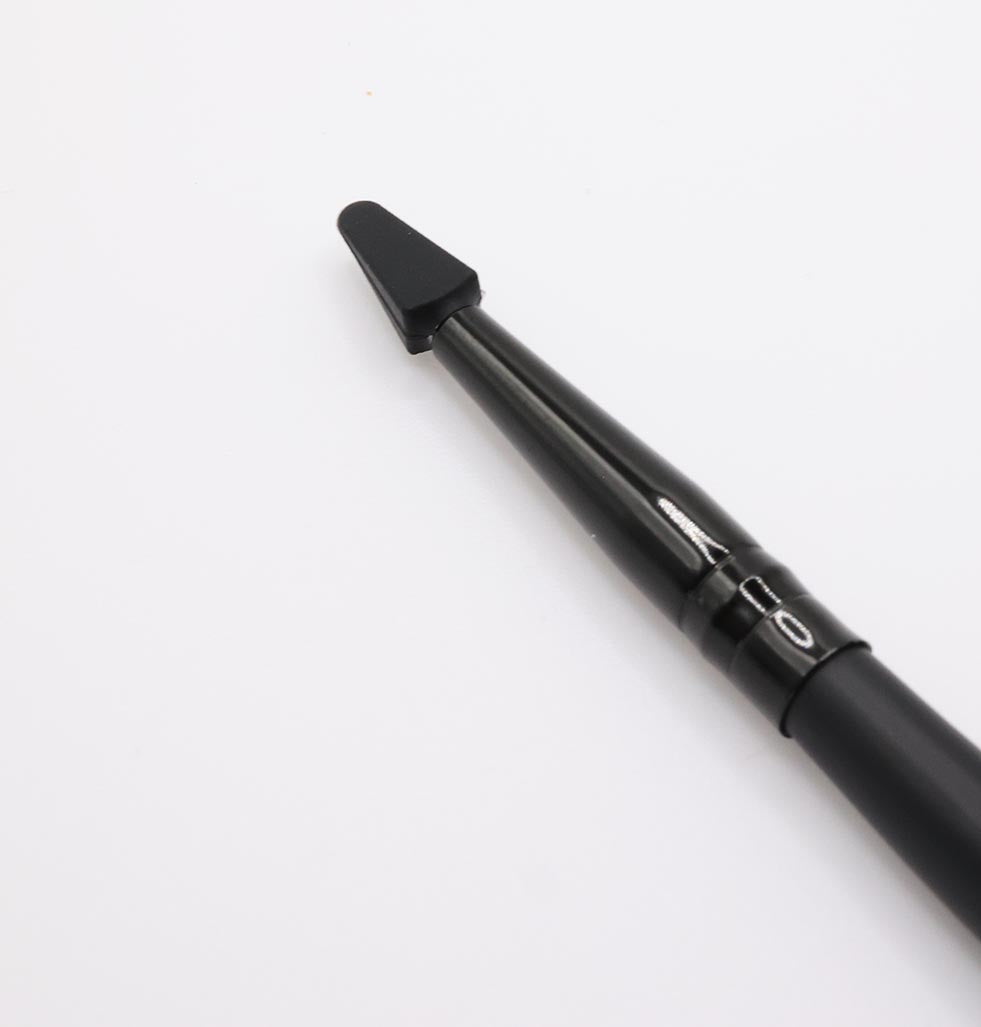
With the chosen shield, apply to your clients eyelid with an adhesive. Using a glue balm or bonder secure your clients lashes to the shield , we recommend using a "Y" comb to separate your clients lashes, ensuring they are all neatly applied to the shield. You can now go ahead and apply step one using our re-usable tool.
Apply Step 1 a few millimetres away from the root of the lashes. Step 1 should cover about 1/4 of the lash. If your client has curly lashes, then 1/2 of the lash should be covered. You should always avoid the tip of lashes with step 1.
Whilst applying step one you want to be looking at the lashes and decided how long you want to the leave the solution on for. So for fine lashes: 4-5 minutes , for full lashes: 5-6 minutes and for thick and course lashes 6-8 minutes.
Using a clean cotton bud or our reusable tool, quickly remove step 1 from the lashes . We advise to use a "flicking motion" to ensure you don't get any product on the tips of the lashes. Next, apply the same amount of step 2 to the same position as step 1.
Assess your client's lashes to decipher the length of time step 2 should be left on. We advise for fine lashes 4-5 minutes, and for full and course lashes 6-8 minutes. Remove step 2 in the same 'flicking motion' as you did for step 1.
Once all product has been removed from the lashes you can then apply your desired tint and remove with a cotton bud. Pop a little bit of step 3 onto a clean cotton bud and apply to lashes to help remove them from the shield , this will help nourish and moisture the lashes. Once all lashes have been removed from the shield, you can use step 3 to carefully remove the shield from the clients eyelids. Using step 3 to do this will also help breakdown any left over adhesive that may still remain on the clients eyelids.
Once the shields have been removed, and you've tidied up any remaining tint around the eye.
Please take after photos and explain your aftercare. Aftercare with a lash lift is extremely important, advise your clients to avoid getting the lashes wet for 24 hours.
Your clients are able to apply mascara over the lashes but we advise you wait 24 hours to do so. We do not recommend before the 6 week mark as this could run risk of over processing the lashes.
For lash lift use, we estimate you should be able to get up to 6 treatments out of one sachet. For best use, kept in an airtight container in the fridge in between uses.
